Stages of Documentary Post-Production
In the spirit of community-wide collaboration, we would like to share these time-tested post-production procedures, as well as some of our own editorial inventions, with other editors and directors.
New Doc Editing first compiled this step-by-step post guide for its popular seminar “Editing the Character-Driven Documentary”, developed for the Film Arts Foundation and the San Francisco Film Society.
Remember, this guide is a suggested course of action; not a hard and fast prescription. Each project will likely deviate from time to time from these stages of post-production.
We would like to thank all the documentary directors, producers, and editors who contributed to these professional guidelines.
View Rushes and Logging
Get transcripts made of chief interviews.
Note scenes that move you, even little moments that strike you emotionally.
Note sound bites that make compelling points intellectually.
Distinguish between scenes in which something actually happens, and scenes that will primarily function as b-roll over VO.
In the scenes in which something actually happens, identify the actions that are relevant to the plot, i.e., to the protagonist’s quest. If it’s not relevant, should it be in the film?
What scenes/footage might work as inciting incident, act climax, backstory, turning points, film climax?
Update Doc Plot MapTM (a customized plot tool we often use in our collaborations).
Paper Edit
When editing projects that are talking head heavy, editors often employ transcripts that are cut and pasted into a paper edit.
The strength of the paper edit is that it can help organize ideas, an excellent tool for an essay film.
The potential weakness of a paper edit is that your first edit will be dialogue heavy and you may miss the potential of verite scenes and visual moments.
Assembly Edit
Construct an assembly edit after ninety percent of your footage is shot, digitized and logged and you have some kind of structure on paper. This could be a paper edit, an index card outline, or a simple, preliminary timeline of your three-act structure.
The assembly cut should not be screened to anyone outside the film’s tight need editorial team. It is a tool for editors, directors, and creative advisors. Its function is to see the big picture, the film in broad strokes, when shooting is roughly ninety percent complete. The chief questions that the assembly should answer are “Is there a story here?” “Is there a film here?” “What’s the likely structure?” “Which characters and themes can be cut?”
For this reason, length should be no more than 140 percent of final film. If longer, it is difficult to assess the film’s structure and rhythm. For a 60-minute documentary, the assembly should be no more than 84 minutes.
The assembly is your best first guess at structure. If you don’t know where to start, try a strictly chronological approach.
Include a little of every scene that might make it in the film.
Include all your killer emotional moments.
Edit the assembly quickly, within a few weeks if possible. Sequences should be bulky-represented by two or three long unedited shots. Resist the temptation to finesse edits.
Edit with sync sound. No L cuts, J cuts or VO (voiceover). This level of fine cutting can be a waste of time because you will may change scenes later or cut them entirely. Also, you don’t need to see cutaways, etc. to tell is a film’s structure is working.
No narration, music, dissolves, cutaways, inserts, special effects. Jump cuts are fine.
Use cards for missing interviews, archival footage, etc.
After viewing the assembly, determine if a viable film exists. What additional shooting may be needed?
What characters can be dropped because they are not pertinent or they are repetitious.
What ideas/themes can be dropped?
What scenes are not needed?
Update Doc Plot MapTM.
Rough Cut
Your rough cut will be seen and evaluated by test audiences and funders.
For this reason the length should be no more or less than ten percent of estimated final TRT. This is so test viewers can accurately judge the film’s structure and rhythm.
Lower distracting ambient sound.
J and L cuts with voiceover are OK but don’t finesse edits too much.
Include first draft narration as either on-screen text or scratch track narration.
Include temp music, borrowed from available CD’s or sound library. If you have a composer in mind, try some of their tracks.
Aim for the correct proportion of the materials that will appear in your final film: live action footage, archival, narration, reenactments, still photos, art work, etc. If some element is missing, for example, an interview that hasn’t been shot, then use a textual placeholder.
No credits.
When showing a rough cut to creative advisors, include an accurate film transcript that they can mark up. Use the left column for listing visuals and the right column for word-by-word dialogue and narration. Include page numbers.
Screening Tips: Show to test audiences, including some experts on the film’s subject, and some viewers who are lay people. You may have two sets of screenings: one for film professionals, one for lay audience.
In evaluating feedback, remember that the audience is always right about what isn’t working for them in the film, but rarely right about how to fix it. If viewers are confused, you can’t argue with them. They’re confused.
Directly after screening, ask viewerss to fill out an anonymous questionnaire. The first question should ask about initial impressions of the film. After collecting the questionnaires, then start discussion. Ask people to tell you what’s working as well as what isn’t working. Ask any specific questions you have.
If certain viewers are dominating the discussion, ask to hear from people who haven’t said anything. Don’t waste this valuable feedback time trying to explain what you had in mind or defending your cuts. You are there to listen.
After the rough cut screening, determine:
What problems did viewers consistently mention? How can you solve those problems? Is narration required? Is new material needed that require a pick up shoot or additional interview? Should certain scenes be dumped?
Update Doc Plot MapTM.
Fine Cut
In composing the fine cut, it’s recommended that you rescreen your rushes if you have time, or at least reread your transcripts. Footage and sound bites that escaped your attention the first time around may jump out at your now that your know your structure and sequences.
The fine cut will be viewed by advisors, funders, test audiences. Give them an accurate, updated transcript.
The length should be within three percent of the final TRT.
The film’s structure should now be in place.
Include film’s title treatment, temp music, temp narration, placeholders for every single forthcoming shot, window dubs of archival material.
Include effects and micro cutting.
No credits, black holes or jump cuts (unless planned for final film).
It’s a good idea to do your fact checking at fine cut stage, as you are finalizing your narration.
Update Doc Plot MapTM if needed.
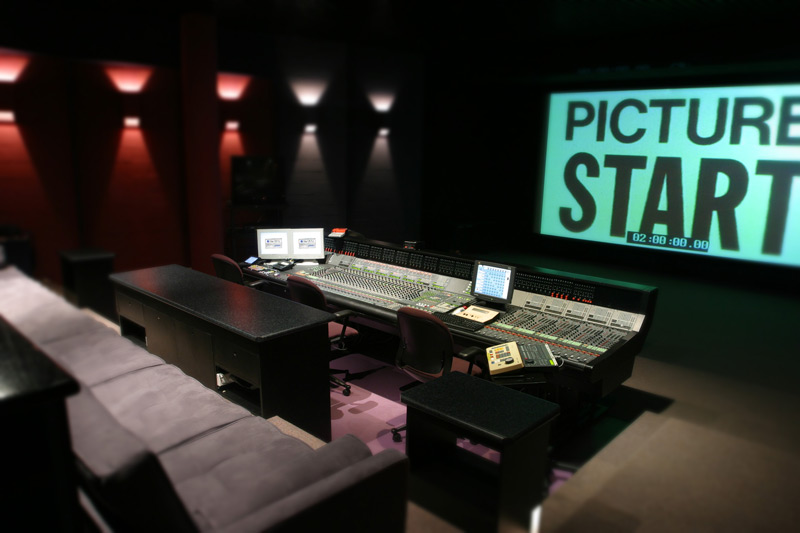
Locked Picture
Locked picture means just that: from now on there will be no more changes to the video part of your film or to the length of your timeline.
After you lock picture, you will overlay the following video:
– Master archival material
– Final graphics and animation;
You will lay back the following audio:
– Final composed music
– Final narration recording
– Final sound effects (FX).
Congratulations! Now you can move on to the “online edit”, which means color correction and a sound mix.